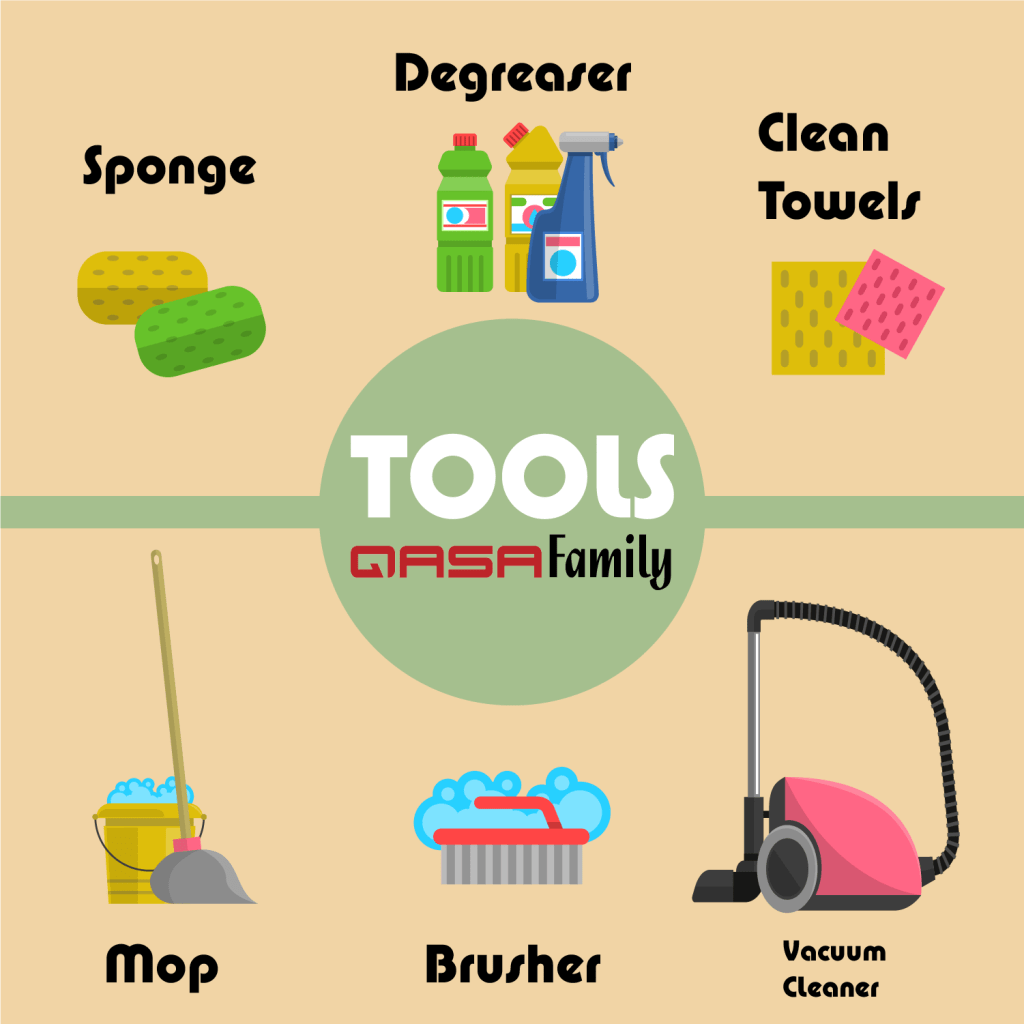
Tools
- Sponge
- 1 or 2 clean towels
- Degreaser or the products that specifically dissolve the greaser
- Brusher or toothbrush
- Mop
- Vacuum Cleaner
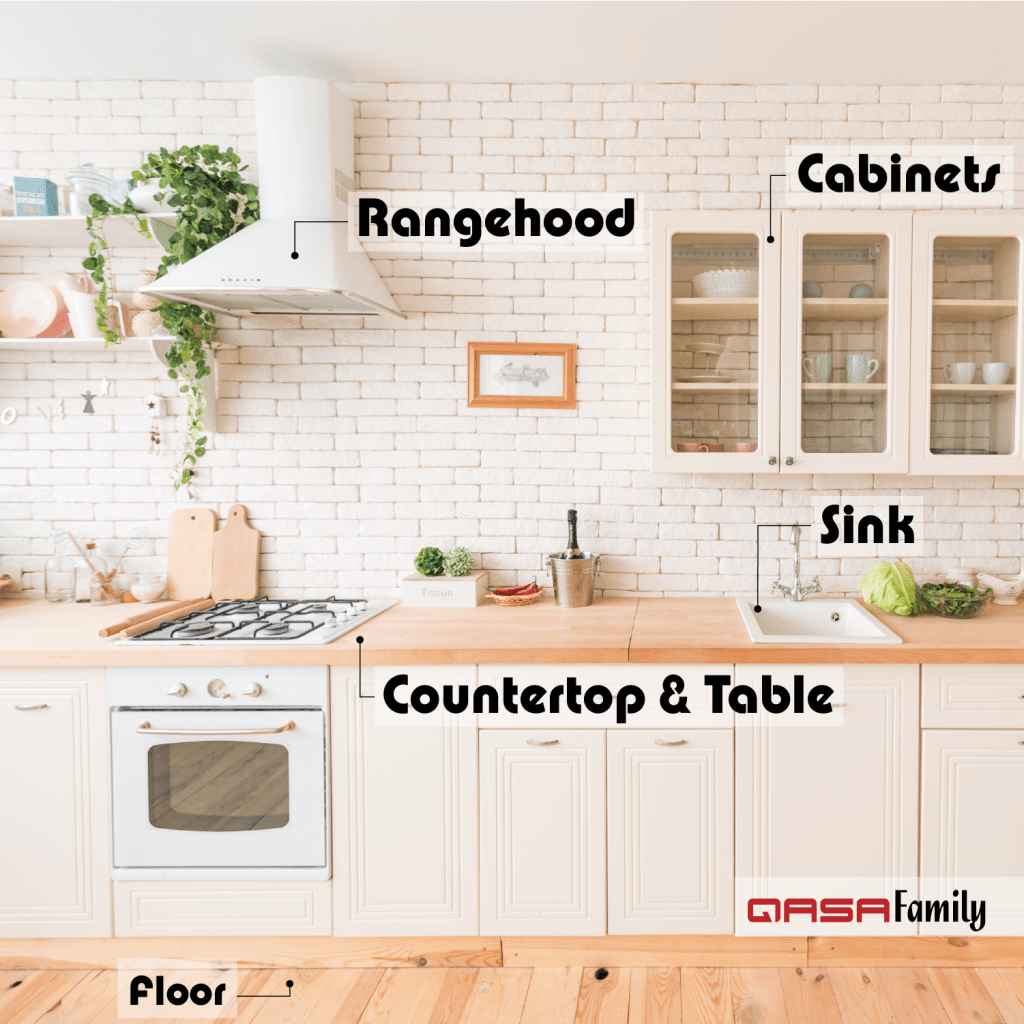
Areas
- Cabinets
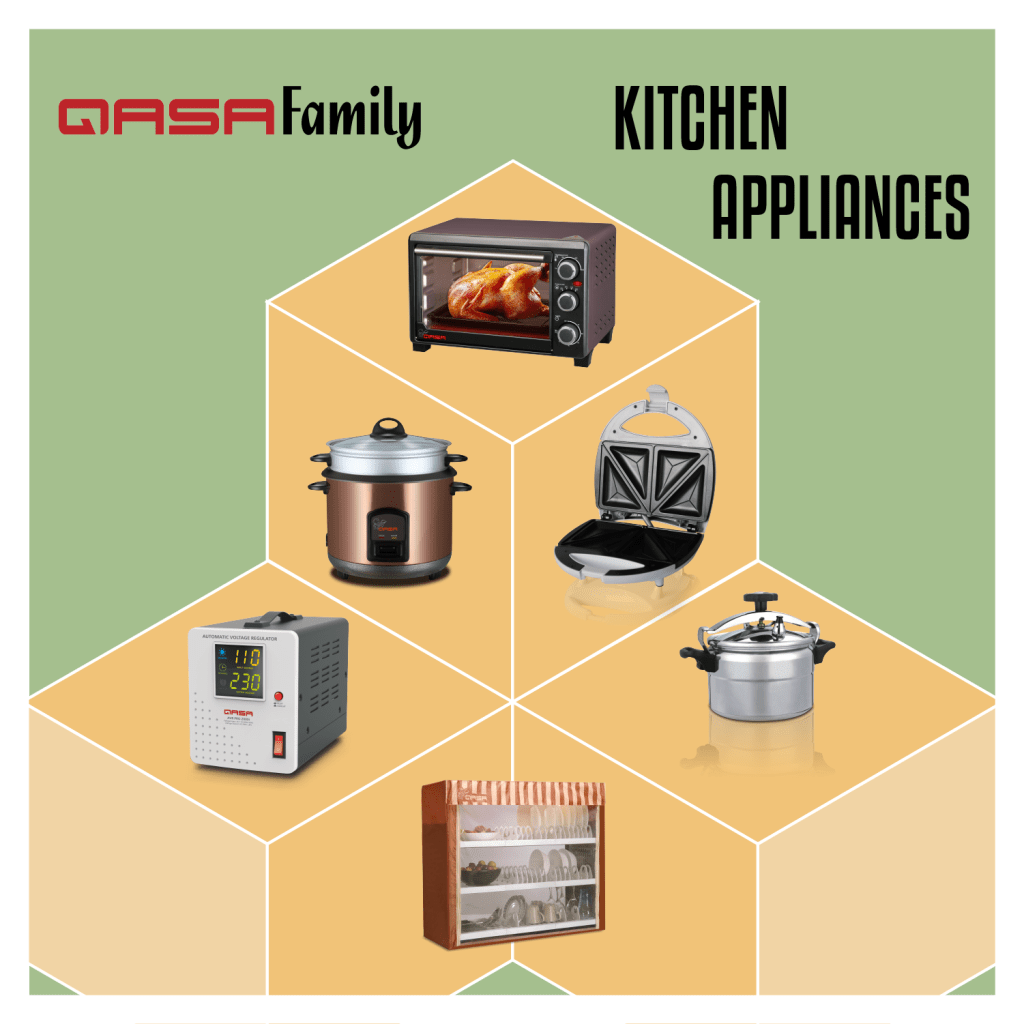
All the surfaces of the cabinets should be cleaned by disinfecting. Especially the knobs that you and your family usually grip to open/close the cabinets, where might contain a lot of germs and viruses. The same idea for cleaning the appearance of kitchen appliances, and you should take care of them also with disinfection.
- Countertop and Table
The countertop or the table could be the very place that full of germs and viruses because it’s the place that we use every single day. Therefore, you should disinfect this area regularly after each time you finish cooking or having dinner on the countertop and the table. However, despite cleaning them every day, it’s also great you have this place disinfected entirely and periodically as well. When you try to sanitize the areas, find the specific products for the surface to avoid permanent scratch. And it’s better that you use a sponge for a larger range of a surface and the brushers for the corners to disinfect, and then rinse the surface with a clean towel.
- Rangehood
The rangehood will be harder than the other areas to clean due to the oily exterior caused by daily cooking. Use the degreaser to wash the oil off the hood, and rinse the residual off with a clean damp towel. At this point, it’s not necessary to disinfect the rangehood because the virus couldn’t survive under the degreaser. If you still worry about the viruses, you can disinfect the rangehood after cleaning.
- Sink
The sink has been used to contain a lot of dirty dishes and left-over, so it could be a very nasty place that might develop a lot of germs and viruses. Thus, it must be properly cleaned to get rid of the dirty materials and the odors by using the degreasers and dishwashing.
If it’s possible, try not to leave any dirty dishes or left-over overnight. Wash them right away when you’ve finished each meal to avoid every possibility of getting sick.
- Floor
You might have vacuumed the floor regularly, but the one in the kitchen could be the pain in the you-know-what for having remained some oily stuff on it. To thoroughly clean the floor in the kitchen, you can use towels or a mop with some soapy water to clean the oily spots around the floor. Wait until the floor evaporated, you can then start vacuuming the floor again.
Cleaning the whole kitchen is a bit troublesome and tiring, but if you have it cleaned on a regular basis, it won’t be a difficult job to do a deeper cleaning once a month. Especially in the current situation, keeping the environment clean and disinfected could protect you all along to get through the pandemic. Stay Safe.
Follow us on:
If you like our posts, please leave your comments to let us know your thoughts and share the posts with your friends. 🙂